Adding Bizznis using the Administration Panel
- Log in to the WordPress Administration
- Select the Appearance panel, then Themes.
- Just next to the headline, you will see a link that says “Add New” – click that.
- Below to the headline, you will see a link that says “Upload” – click that.
- Click the browse button and find the bizznis.zip file from your local machine.
- Click the “Install Now” button.


Installation With an FTP Client
- Download the theme zip file to your local machine and unzip it.
- You will see a theme folder labeled “bizznis”.
- Log onto your server through an FTP client, and find your site’s wp-content/themes directory. You will want to transfer the entire theme folder to that directory.
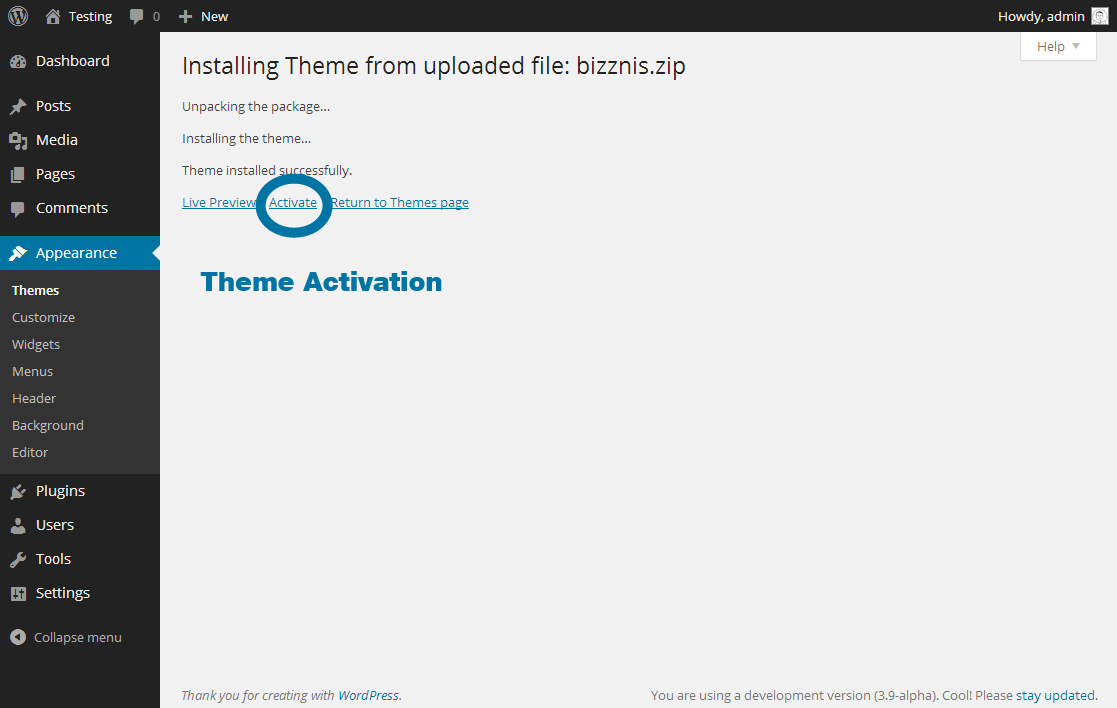
- Log in to your WordPress dashboard, and go to Appearance > Themes. There you will see screenshots of the themes that are available for you to use. Click on the theme title (or theme screenshot) for the theme you wish to activate. A preview of the theme will be shown, and then you can click the Activate link in the top right of the preview window.
Notes
- If you are looking for a good FTP client, you can check out Cute FTP and Filezilla for Windows or Transmit and Cyberduck for Mac.
- If the theme downloads as a folder full of files, this is a setting on your computer. You can zip it back up by right-clicking on the folder name and choosing “Compress”.
- Do not rename the /bizznis/ folder. Child themes look specifically for this name exactly. Any other variation will not be found by the child theme.